If your tiles are still in good condition but you are looking for a refresh, you don’t need to start from scratch.
Re-grouting your tiles will quickly freshen up your space as grout discolours over time especially in areas like kitchens and bathrooms where it is exposed to moisture, limescale and grease. You can also modernise a space, for instance, if you used matching grout before, you could use a contrasting grout to bring it up to date.
Re-grouting isn’t a particularly difficult job, or so we are told by experienced tilers, providing you have the right tools for the job. However, it can be time-consuming.
We have asked the professional tiler on your behalf and they have advised the following:
Materials needed:
- Appropriate safety wear including safety goggles, gloves and dust mask
- Vacuum cleaner
- Dust sheet or old sheet
- Scraper tool
- Sponge/cloth
- Grout saw/grout removal blade
- Grout spreader
Step 1
Use a grout saw or a grout removal blade to remove as much of the old grout as you can, whilst being careful not to damage the tiles as you go.
A scraper tool will help you to knock out any leftover pieces.
Step 2
Vacuum all the dust as you go and when you finish, wipe over the tiles with a damp sponge or cloth and wait for this to dry completely.
Step 3
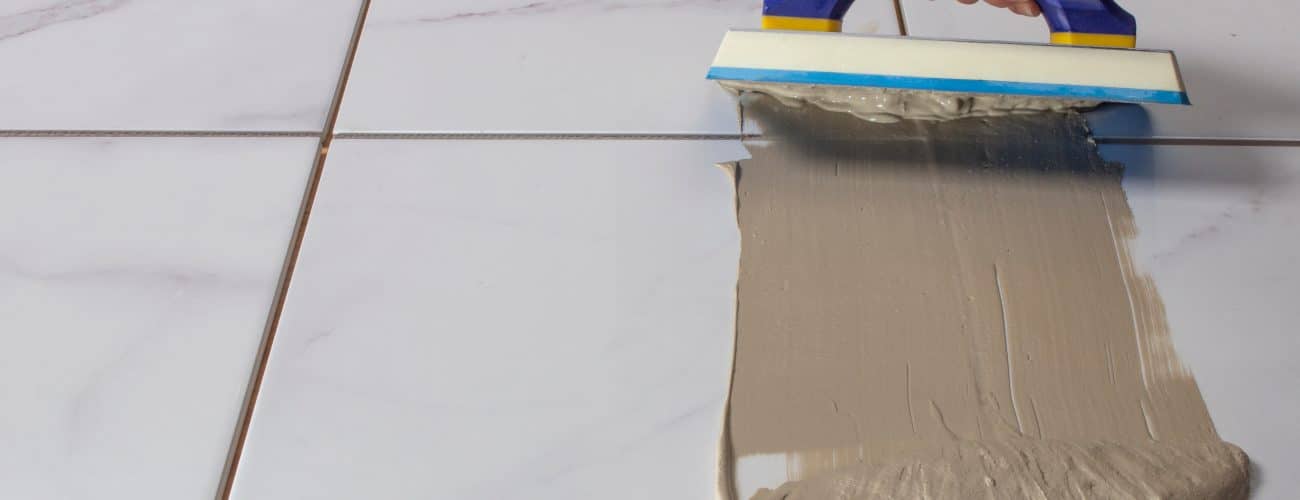
Once you’ve chosen your new grout, apply it to the tiles using the spreader. Use a diagonal motion to ensure it gets into all the gaps between the tiles. Use the edge of the spreader to scrape up excess grout and re-apply it to other areas.
Wipe off excess grout on your tiles as you go (otherwise you will have to scrub it off later).

